
The fastest way to a neater, more productive office desk is to combine eight simple techniques: divide your surface into work zones, reset it daily, use vertical space, label a paper system, tame cables, give every supply a home, set up shared desks for hybrid teams, and add a few personal touches that support focus. Most take under an hour to put in place, and none require special skills or a big budget.
Why do they work? Clutter competes for attention, and attention is the one resource knowledge workers can’t afford to waste. A desk with clear boundaries and a defined home for every item lets people start tasks faster and finish the day with less mental residue. If your team works mostly on screens, pair these ideas with our guide to maximize computer desk layouts.
We selected these techniques for practicality, low cost, and how easily they scale across a team, from a single employee’s workstation to a shared hybrid floor. Along the way, you’ll find short case studies and success stories showing how organizations have put them to work, plus a quick FAQ for the questions HR and training leaders hear most.
How These Desk Organization Techniques Were Chosen
Choosing the right desk organization techniques starts with knowing what makes an idea worth adopting. Each of the eight ideas in this list is a curated selection based on widely recognized workspace principles. We did not run hands-on product testing, and we have not named specific brands. Instead, we looked for methods that fit real working days and that busy professionals can put in place without a big project. These were the criteria:
- Simplicity: you can start in minutes, with no special training.
- Affordability: most ideas cost little or nothing.
- Flexibility: they suit private offices, shared desks, and hybrid schedules.
- Impact on focus: they reduce searching, reaching, and visual distraction.
- Professional appearance: they leave a workspace that looks polished to colleagues and visitors.
We also paid attention to how people actually move through a day. A method that looks tidy but slows down your routine rarely lasts, so we favored habits that fit natural rhythms like arriving, switching tasks, and wrapping up.
Finally, the ideas work whether your role is paper-heavy, such as HR or compliance, or mostly digital, such as training design or remote coordination. You can adapt each one to your own mix of files, screens, and tools.
1. Divide Your Desk into Work Zones
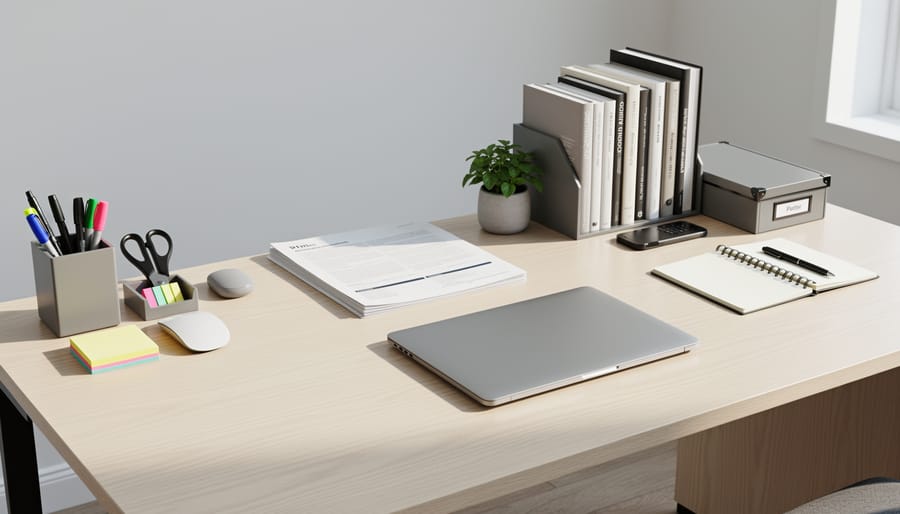
The first idea is also the one that makes the other seven easier: stop treating your desk as one big surface and split it into three work zones.
Start with the primary zone, the area directly in front of you where current tasks happen. Your keyboard, monitor, and whatever you’re actively working on live here, and nothing else. Next comes the secondary zone, the space within easy arm’s reach on either side. This is home to the tools you grab several times a day: a notepad, pens, a phone, a water bottle. Finally, the reference zone covers items you need only occasionally, such as binders, project folders, or a stapler. These belong in a drawer, on a shelf, or at the far edge of the desk.
The payoff is practical. When every item has a logical distance from your hands, you reach less, search less, and see less clutter competing for your attention. Your eyes land on the task, not the pile.
You can map your zones in under ten minutes:
1. Clear everything off the desk and wipe the surface.
2. Sit down and extend your arms to find your natural reach. That arc marks your secondary zone.
3. Place only your core work tools in the primary zone, then sort each remaining item by how often you used it in the past week.
4. Move the rarely used items out of arm’s reach.
Sort by habit rather than by neatness, and the layout will hold up long after the first tidy-up.
2. Adopt a Clear Desk, Daily Reset Routine
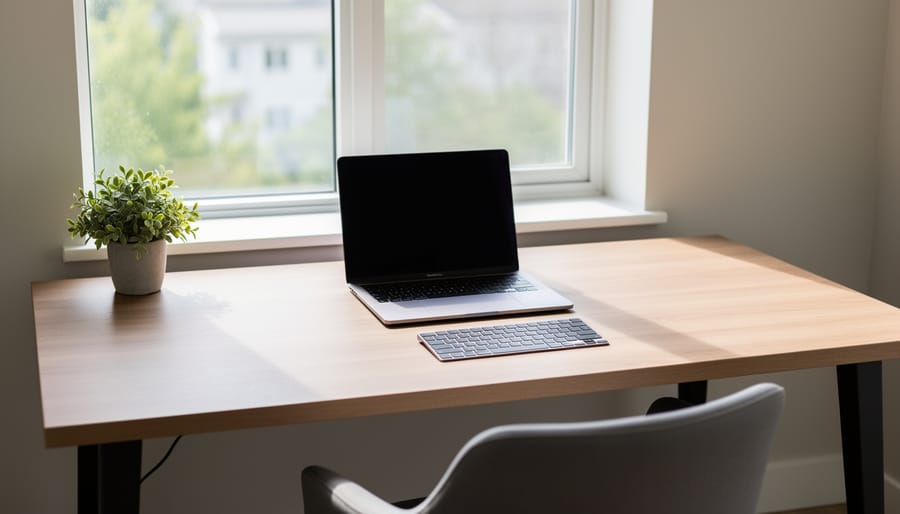
A clear desk at the end of the day does more than look tidy. It tells your brain the workday is over. A five-minute reset, done the same way every evening, turns that signal into a habit.
Start by clearing every surface. Coffee mugs go back to the kitchen, loose pens go in a drawer, and anything you won’t touch tomorrow gets put away. Next, file the stray papers. Anything that needs action goes in your action tray, anything finished goes in the archive, and anything that doesn’t need a physical copy gets scanned or recycled.
Then take one minute to write down tomorrow’s top three priorities. Keep the list short on purpose. If a task keeps landing on it without moving, ask whether you should delegate or automate it instead of carrying it forward again. Finally, wipe down the desk, keyboard and phone with a quick pass of a cloth.
The real payoff shows up the next morning. You sit down to a clean surface and a plan already waiting, so there’s no scramble to figure out where to begin. Many people also find the ritual helps them leave work at work, because the day feels properly finished rather than abandoned mid-thought.
If five minutes feels like too much at first, begin with just the priority list and add one step each week. Consistency matters far more than perfection, and the routine will soon feel automatic.
3. Use Vertical Space with Monitor Risers and Shelves
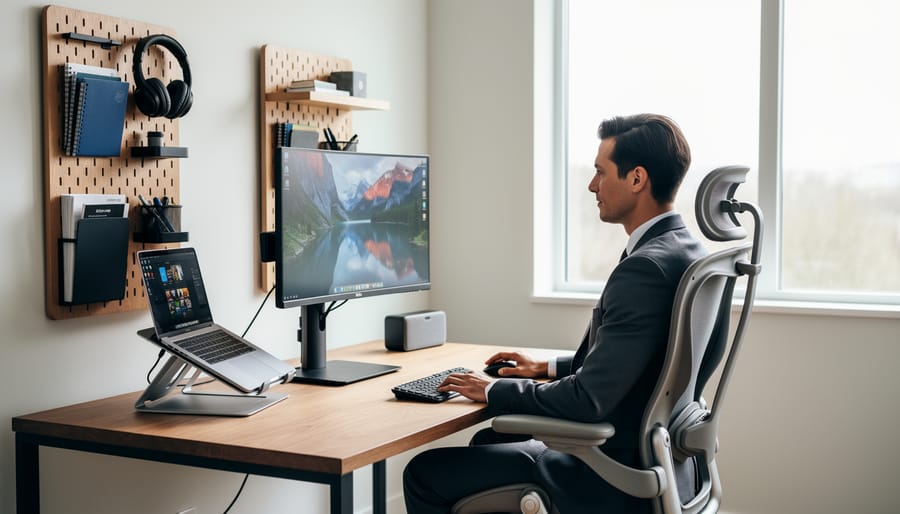
Your desk surface is limited, but the space above it usually isn’t. Moving items up and off the desktop is one of the fastest ways to create a clear primary work zone without buying a bigger desk.
Start with the monitor. A riser or adjustable stand lifts the screen so the top sits at or just below eye level, which helps keep your neck neutral and your shoulders relaxed. The space underneath becomes useful storage for a keyboard during meetings, a notebook, or a slim document tray. Look for a stand that is stable, has enough clearance for your items, and fits the width of your screen.
Desktop shelves and tiered organizers work the same way for everyday supplies. A compact shelf can hold reference binders, a phone stand, or a small tray for incoming papers, keeping them visible but off your main work surface. Choose pieces with a small footprint, and make sure the shelf height won’t block your line of sight or crowd your screen.
If your office walls allow it, wall-mounted organizers, pegboards, or floating shelves take clutter off the desk entirely. They suit items you reach for often, like folders, a calendar, or chargers. Check that you have permission to mount anything, especially in shared offices.
A quick test: if you rarely use an item, it doesn’t need prime vertical real estate. Reserve the best spots for things that help you manage administrative tasks, such as your task list and active files, so your most-used tools stay within easy reach.
4. Create a Simple, Labeled Paper Management System
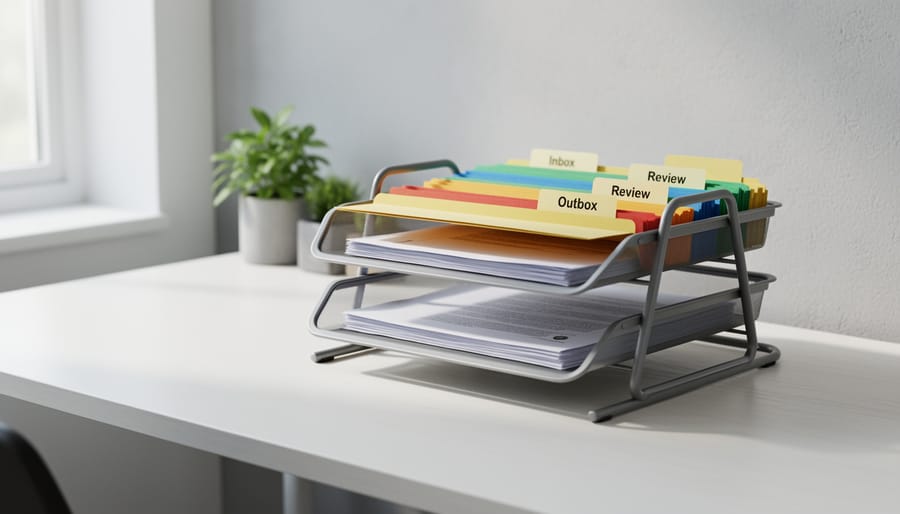
Paper has a way of piling up fastest when it has no clear home. A simple three-part system fixes that: an inbox, an action tray, and an archive. Each one gets a visible label, so anyone glancing at the desk knows exactly where a document belongs.
New items land in the inbox. Once a day, you sort that tray. Anything needing a response or a decision moves to the action tray, ideally ordered by deadline. Anything finished goes to the archive, a labeled file or folder you can reach without digging. Before you file a page at all, ask whether you need a physical copy. Many documents, such as meeting agendas, routine notices, and signed forms that already exist in your records system, are better scanned or saved digitally and then recycled or shredded.
Here is an illustrative example of how this can look in practice. Picture an HR team that handles onboarding forms, leave requests, and benefits paperwork. Before, documents were stacked in a shared tray, and someone spent part of each week hunting for a single signed form. The team set up three labeled trays and a color-coded filing flow: blue for new hires, green for ongoing employee changes, and gray for completed records. They also agreed to scan anything that did not legally need a paper original.
The result was less searching and fewer “where did that go?” messages. The real gain was shared confidence: everyone knew where a document should be, so nobody had to guess. Labels do the thinking, which frees your attention for actual work.
5. Tame Cables and Tech Accessories
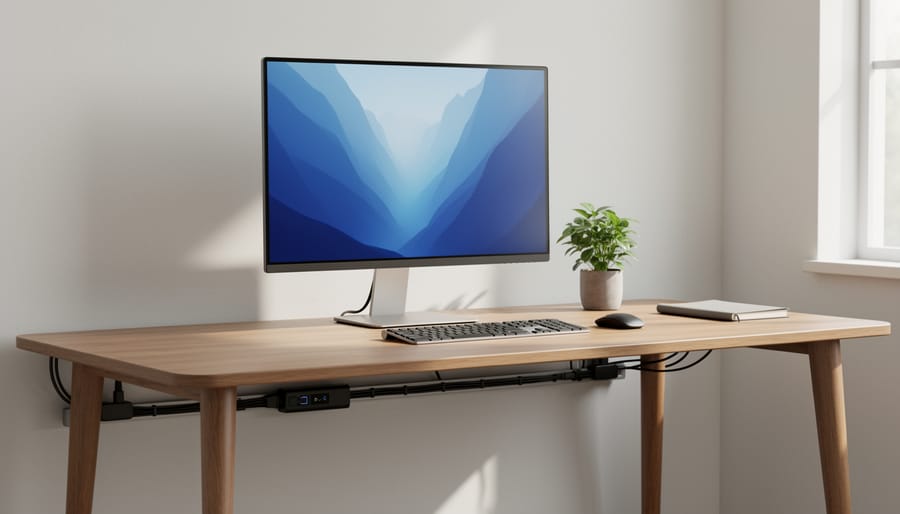
Cables are the quiet culprit behind a messy-looking desk. Even when your papers are filed and your supplies are sorted, a tangle of cords can make the whole workspace feel chaotic and slow you down every time you reach for a charger.
Start with a few simple tools. Adhesive cable clips mounted along the edge or back of the desk keep cords from sliding off and falling behind furniture. A cable sleeve or spiral wrap bundles several wires that run in the same direction, such as a monitor, lamp, and power strip, into one clean line. Mounting a power strip under the desk or on the back panel gets the bulkiest cords out of sight entirely.
Next, give your devices a designated charging spot. One small tray, dock, or corner of the desk where the phone, earbuds, and tablet always land means chargers have a fixed home and nobody hunts for an outlet at 4 p.m.
A few quick wins take under ten minutes:
– Label each charger with a small tag or colored tape so you can tell them apart at a glance.
– Remove any device or cable you haven’t used this week and store it in a drawer.
– Keep only the technology you use daily within view.
The result is a calmer surface, fewer snags, and a more polished impression for anyone who walks into your office or joins your video call.
6. Give Every Supply a Home with Drawer Organizers
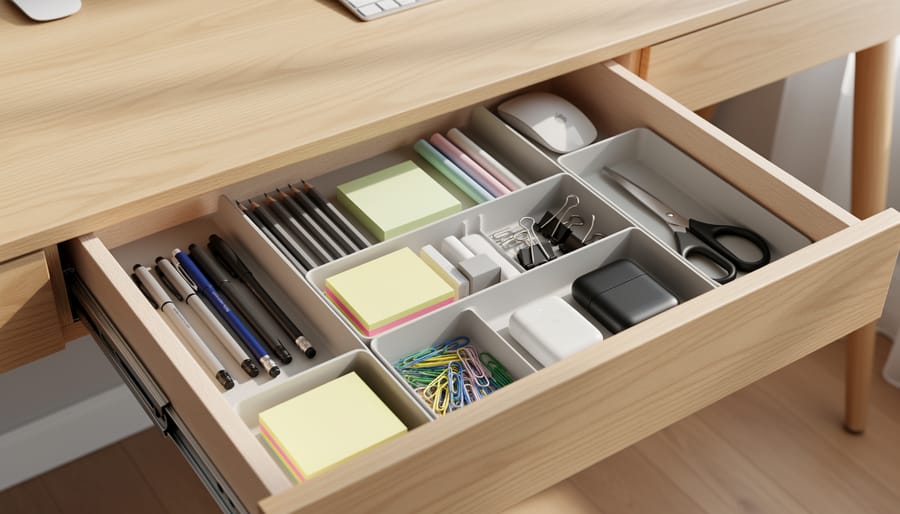
A drawer without structure turns into a catch-all. Pens migrate under notepads, chargers tangle with paper clips, and the sticky notes you need are always at the bottom. Dividers and small containers fix this by giving every supply a defined place, so you spend seconds finding things instead of minutes.
Start with a simple audit. Empty the drawer completely and sort everything into three piles: items you use weekly, items you use occasionally, and items you haven’t touched in months. Keep the weekly pile in the top drawer or on the desk, within arm’s reach. Move occasional items to a lower drawer or a supply cabinet. Remove the rest, whether that means recycling, donating, or returning it to a shared stockroom.
Then match containers to what you’re storing. Adjustable dividers suit mixed drawers, while small trays or cups work well for pens, clips, and USB drives. Give chargers their own shallow compartment, coiled and labeled so you can tell them apart at a glance. A quick label on each section helps others find things too, which matters in shared offices.
Small habits like this reflect how a team treats its shared environment, and they quietly support broader efforts around staff engagement. When people can find what they need without frustration, they start the day with less friction and more focus.
7. Build a Hybrid-Ready, Shared Desk Setup
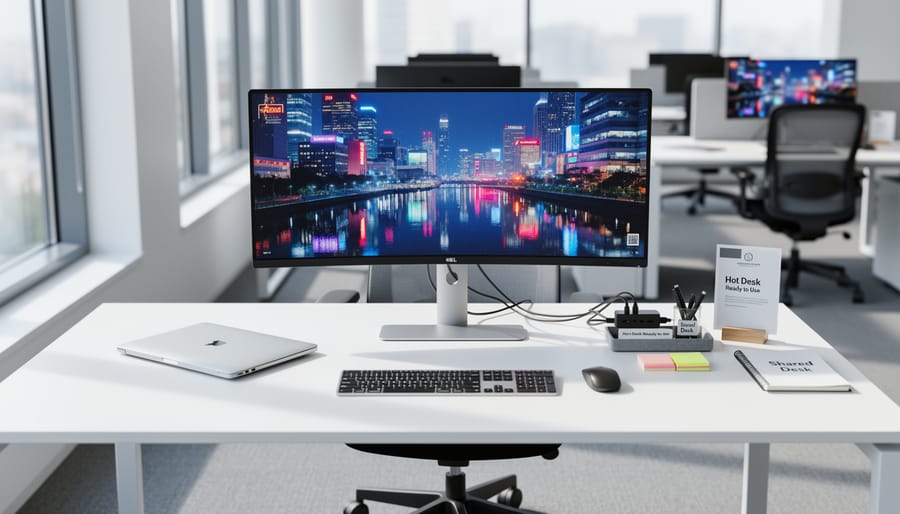
Hybrid schedules change what a desk is for. When several people use the same surface across the week, the goal shifts from personal preference to easy handover: anyone should be able to sit down, get productive, and leave the space ready for the next person.
Start with a portable organizer. A small caddy or slim pouch holds the daily essentials, such as a pen, notepad, charger, and headphones, so they travel with the person instead of spreading across a shared surface. Setup takes a minute, and clearing down takes about the same.
Next, agree on a standard layout. Place the monitor in the same spot, keep the keyboard and mouse centered, and reserve one corner for shared items like a docking station. A simple photo of the “ready” desk, posted nearby, gives everyone the same target. Pair it with a clear-down expectation: surfaces wiped, personal items removed, cables tidied, chair pushed in.
Consider an illustrative example. A training department that rotated staff through a handful of shared desks kept finding them cluttered and set up differently each morning. The team introduced a one-page desk standard covering layout, a caddy for personal tools, and a thirty-second clear-down. People reported that the space felt easier to use, with less time spent rearranging before sessions began. The change stuck because it was small, visible, and shared by everyone.
Clear expectations like these also reflect the habits that strong leadership development tends to reinforce: modeling consistency and making the right behavior the easy one. When leaders follow the standard themselves, teams follow naturally.
8. Add Personal Touches That Support Focus
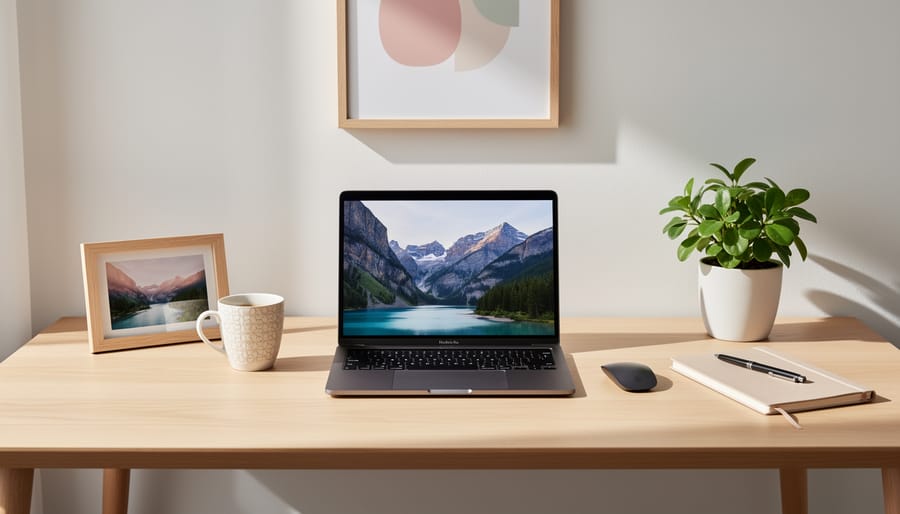
A tidy desk doesn’t have to feel sterile. A few well-chosen personal items can make a workspace feel like yours, and that sense of ownership often makes it easier to settle in and concentrate.
The key is restraint. Think of personal touches as the finishing layer, added only after your work zones are clear and your tools have a home. Good candidates include a small plant, one framed photo, a motivational note, or a single object that reminds you why you do this work. Each should earn its spot by lifting your mood or sharpening your focus.
A simple guideline works well: choose up to three personal items, and keep them in your secondary or reference zone, never in the primary space where you work. If an item starts blocking a keyboard, cluttering a screen sightline, or collecting dust, give it a new home or retire it.
For shared or hybrid desks, pick items that travel easily. A small photo card or a compact succulent can move with you in a caddy, so your workspace feels familiar wherever you sit.
The test is easy. When you glance at your desk, you should feel calm and capable, not distracted. Personality and professionalism work together when every item has a purpose.
Common Questions About Keeping a Professional Desk Organized
Most desks stay tidy when the habits are small and repeatable. These are the questions leaders and HR professionals ask most often.
How often should I reorganize my desk?
Keep up with the five-minute daily reset, then do a quick supply and paper audit once a month. A full rethink of your zones is only needed when your role or workload changes.
How do I stay organized when my schedule is packed?
Shrink the routine rather than skipping it. Even clearing the primary zone and listing tomorrow’s top three priorities takes a couple of minutes and protects your next morning.
What should I do with sentimental items or shared desks?
Limit yourself to a few meaningful pieces and keep them out of your primary zone. On a shared desk, use a portable caddy so your essentials travel with you and the surface is clear for the next person.
How can leaders encourage organized workspaces across a team?
Model the habits yourself and share a simple desk standard rather than a long rulebook. Invite the team to adapt it to their own roles so it feels useful, not imposed.
Notice that none of these answers calls for a big overhaul. A team that treats desk care as a light, shared habit tends to keep it going far longer than one handed a strict policy. If you manage others, a short conversation about what is getting in people’s way often reveals the easiest first fix.
Start Small and Build a Desk That Works for You
You don’t have to overhaul your whole workspace in one afternoon. Pick one or two of the ideas above, whether that’s mapping your work zones or starting a five-minute daily reset, and try them this week. Small changes tend to stick, and each one makes the next easier to add.
An organized desk does more than look professional. It lowers the friction of getting started, helps you stay focused on the work in front of you, and sets an example that colleagues notice. When more people on a team work from spaces that feel calm and ready to use, that steadiness spreads, and engagement tends to follow.